

3D Scanning
Today, I had the opportunity to experiment with 3D scanning. 3D scanning is incredibly useful because we are able to bypass the CAD process entirely by capturing data from real world objects using cameras or lasers. The data describes the shape, color, texture, and position of the object or space in a digital, three-dimensional format. While industrial grade 3D scanners can cost upwards of $10,000, you can also use your phone with a free app called Polycam.
Coil Pot Project
I tasked myself with creating a coil pot out of playdough, scanning it, and then 3D printing a replica. This simple project can be a great way to learn about the methods of 3D scanning and I encourage you to try it out for yourself. Below, I have listed the materials you will need as well as the steps to follow my exact process.
NOTE: If you don’t have access to a 3D printer you can still follow the steps under the Polycam section to create a cool 3D model.
List of Materials
- Mobile Phone with Polycam downloaded
- Clay or Playdough
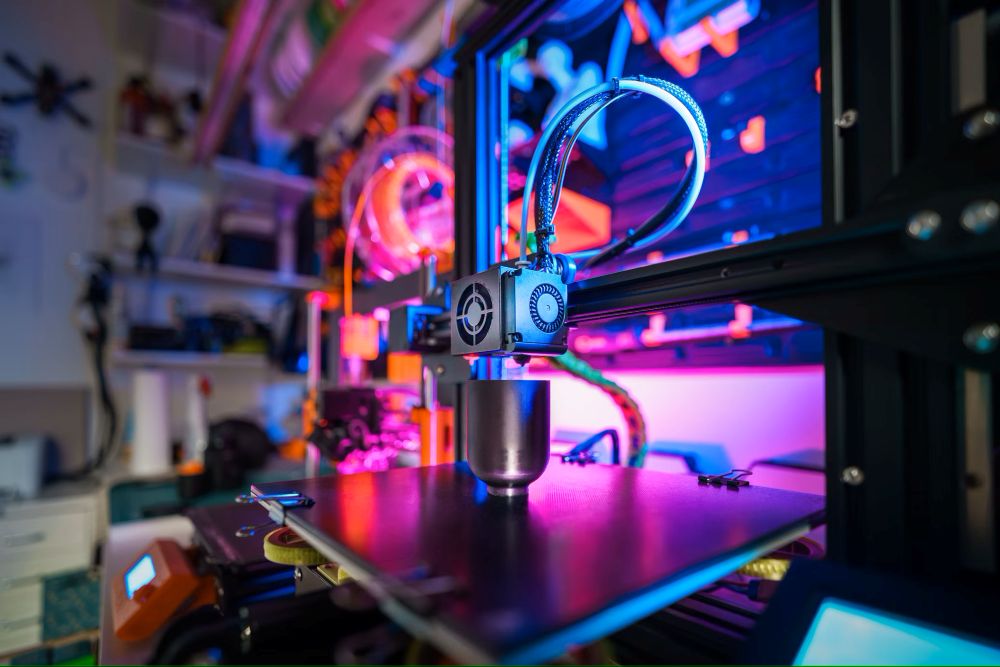
- Computer with 3D slicer software (the Cura slicer is a popular option)
- 3D printer
Step by Step Instructions
Polycam
- Download Polycam on your mobile device
- Navigate to the Captures tab at the bottom of the screen, then, click the plus symbol at the top right of the screen.
- Select the photo capture mode (make sure you are in auto mode)
- Record it!
- Make sure to take photos of every side of the model
- Once you are finished capturing your object upload your scan
- After it’s finished processing click on your scan to view and crop the scan accordingly (this a very important step)
- Finally, export as a GLTF
Computer
- Share the GLTF file of your object with a computer that has a 3D slicer program
- Occasionally when importing a 3D scan the slicer will alert you that your model is not manifold, however, this is a self resolving issue that gets fixed when you preview the slice (if this does not resolve, go back to step 6 in the Polycam section and crop your model again. Make sure to exclude the parts of the mesh that you don’t want)
- Print your model!
Final Thoughts
I was pleasantly surprised by the results of this project. Despite the minimal preparation and the lack of CAD software, I was able to achieve a finished product that I’m happy with. I’m excited to continue exploring 3D scanning as an alternative to CAD in the future.
Project Examples
Have a solution to this challenge you want to share? Take a photo or video of your prototype, post it on social media, and don’t forget to tag us @fluxspace_io


