


Looking for a fun and spooky hands-on activity for your students? In this tutorial, you’ll learn how to create a cardboard skeleton using STEM tools available in your makerspace. This project is perfect for combining creativity with engineering skills.
First, you’ll need to gather all of your materials:
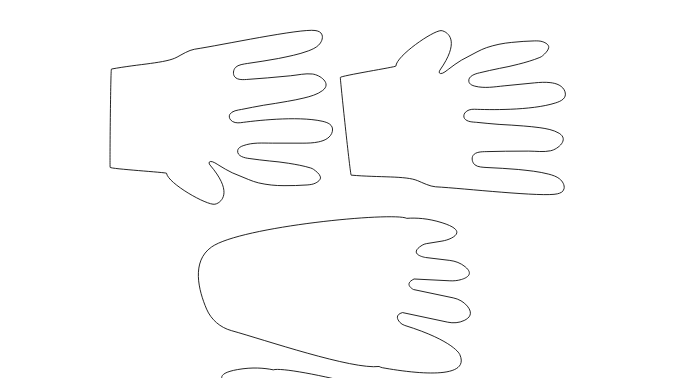
- Cardboard skeleton template
- Scissors
- Glue stick
- Cardboard
- Makedo Safe-Saw
- Makedo Scru-Driver
- 17 Makedo Scrus
- X-acto knife
- Cutting mat
- ChompSaw
- Optional: Flux Laser Cutter
- Optional: Laser cutter template
Once you’ve gathered all of your materials, you’re ready to begin! Start by cutting out all of your template pieces for your skeleton. We recommend laying all of the pieces out to make sure you didn’t forget any!
Next, begin gluing all of the pieces for your template down onto the cardboard, leaving about an inch between each piece to make sure you have a wide enough path to cut with the ChompSaw.
Note: If you plan to use the laser cutter for the hands and feet, skip gluing those pieces from the original template
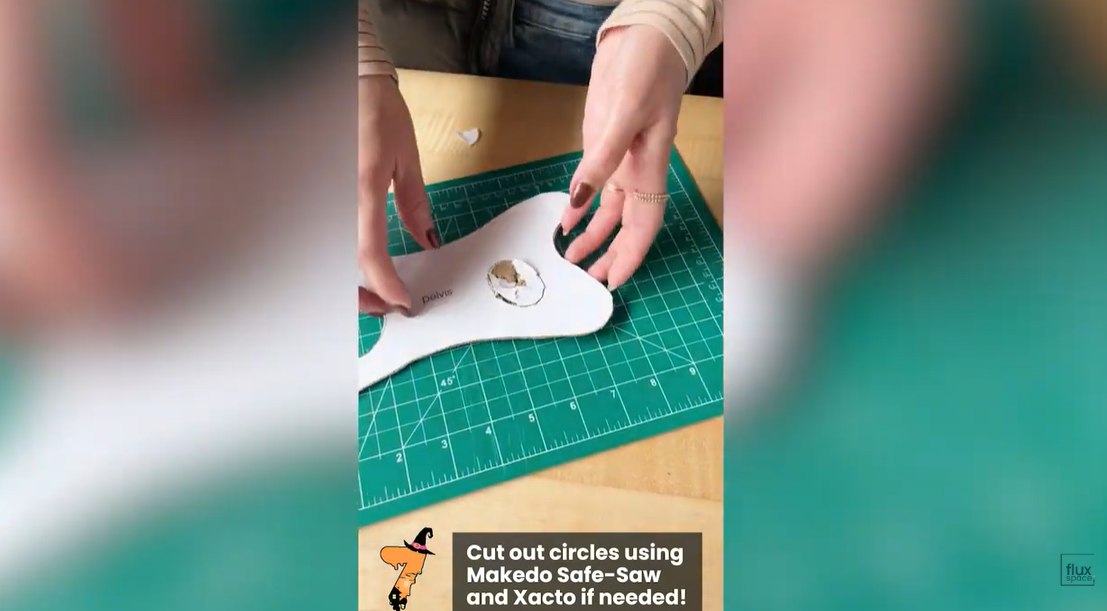
Now that everything has been cut out and glued onto the cardboard, you’re ready to start cutting the cardboard with your ChompSaw! Make sure to take your time, going nice and slow to get the most precise cuts. For the pelvis piece, use the ChompSaw for the outer cut, then switch to the Makedo Safe-Saw to cut out the internal holes on a cutting mat. Teachers may assist with an X-acto knife for straighter cuts if needed.
Optional: If you’re using your Flux Laser Cutter to cut out the hands and feet, download the hands and feet SVG template and open it up in Beam Studio. Change the setting to “wood cutting ¼". Place a piece of cardboard (at least paper-sized) into the laser cutter bed. Once everything is aligned, begin laser cutting!
When all pieces have been cut out of cardboard, begin laying out your skeleton on a flat surface. Decide how each piece will overlap—this is where the Scrus will connect the bones. Make sure to leave about an inch of overlap for the Scrus so they don’t rip through the edge of the cardboard! Once you have your skeleton arranged to your liking, use the hole punch tool on the back of the Makedo Safe-Saw to punch holes at each overlap point. Refer to the photo below to see where each screw will go. Use the Makedo Scru-Driver to fasten the Scrus and connect the bones. You now have a completed cardboard skeleton to add a festive, STEM-inspired touch to your makerspace!
Project Examples
Have a solution to this challenge you want to share? Take a photo or video of your prototype, post it on social media, and don’t forget to tag us @fluxspace_io


