
Are you tired of boring, run-of-the-mill, “hello-my-name-is” name tags?
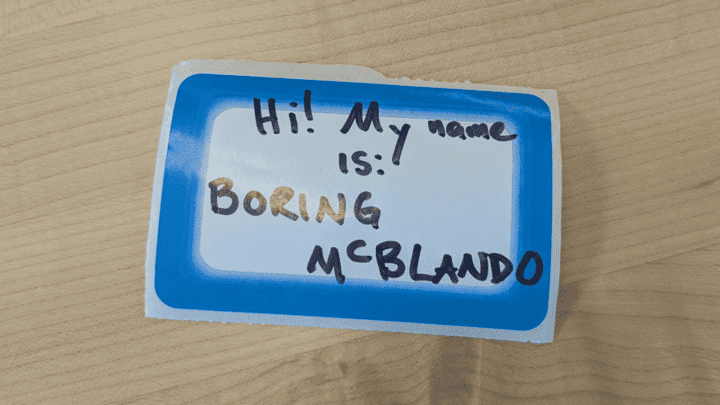
With some simple materials and laser-cut-and-etched pieces, you can make a much cooler one that lights up and changes color!
To make a nametag, we’ll head to the Makerspace and grab our materials. First, we will start by grabbing some acrylic. Here we’re using 3mm. ***LINK***
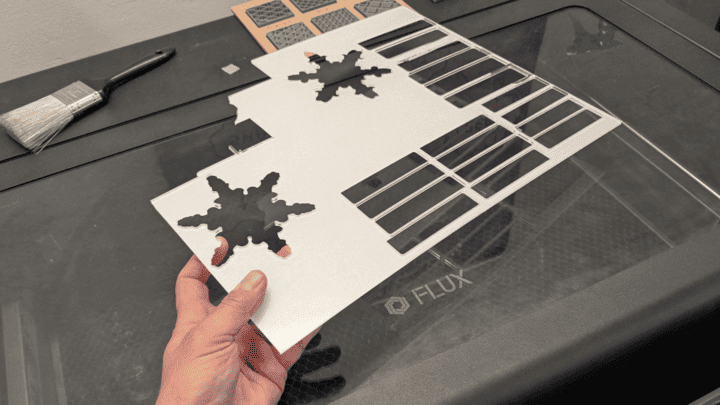
Before you start, you’ll want to peel off the top layer of protective paper but leave the back one on.
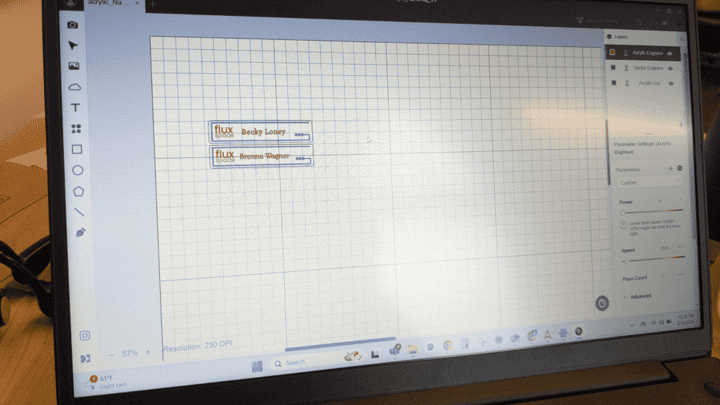
Next, jump into your favorite graphics software to set up your text and add some graphics files with your logo, if you want. When you’re setting up the layers, make sure you do the images/etch first, then cut the perimeter last. You don’t want the piece rattling around while it’s trying to etch the pictures.
Then, you’ll want to make the frame. I made mine out of 3mm plywood. The inside measurement of the cutout will want to be the same as the outside of the acrylic part, with adjustments made for the kerf of the laser. This will likely take a few tries to get just right. You want a nice friction fit.
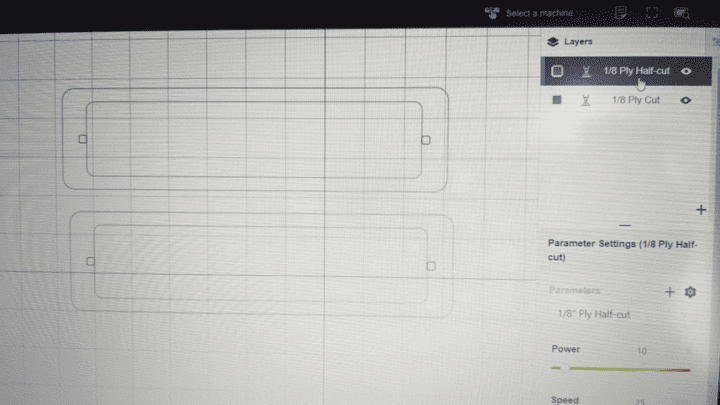
I also cut two small notches in mine to mount the tiny color-changing LEDS. This was done with two small squares in a separate cut layer, with lower power so it only cut about halfway through the plywood.
The last piece to laser cut is the backing board, which needs to have a couple of small holes in it to attach the wires from the LEDs. Much like the acrylic, make sure you laser cut the holes first, and then the perimeter.
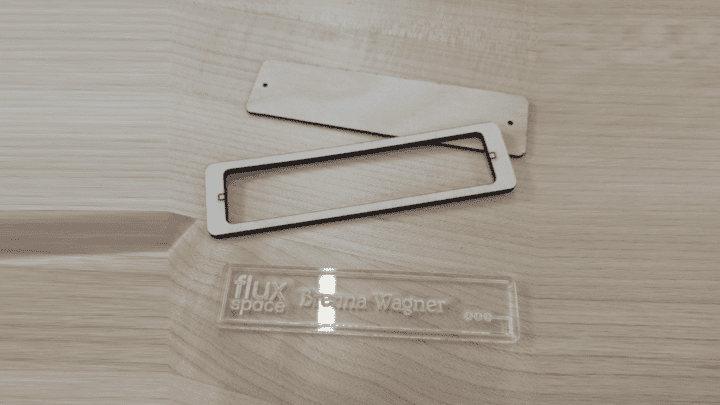
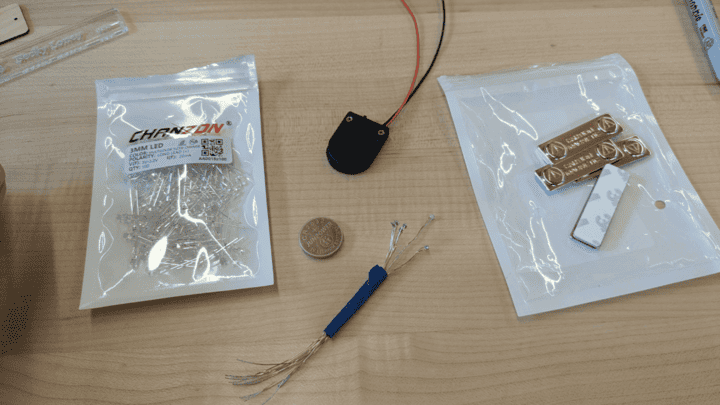
Then you gather your pieces:
- Acrylic Nametag
- Wood frame
- Backing board
- 2 LEDs *Note: there are TONS of options for LEDs
out there - I chose color-changing micro-sized ones,
but you could adjust to suit your own ideas. - Battery pack
- Magnetic Nametag holder
- Button Cell battery
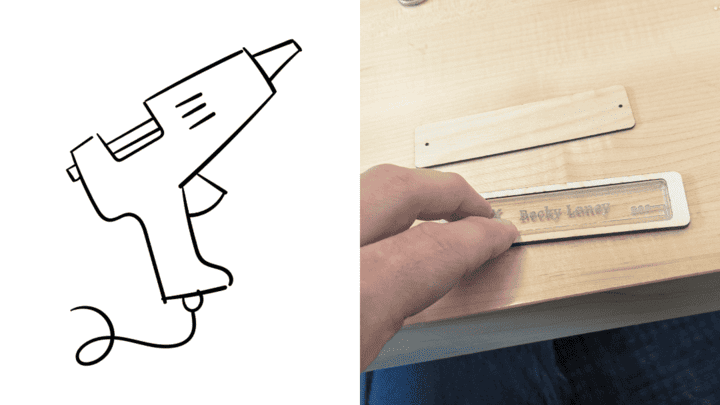
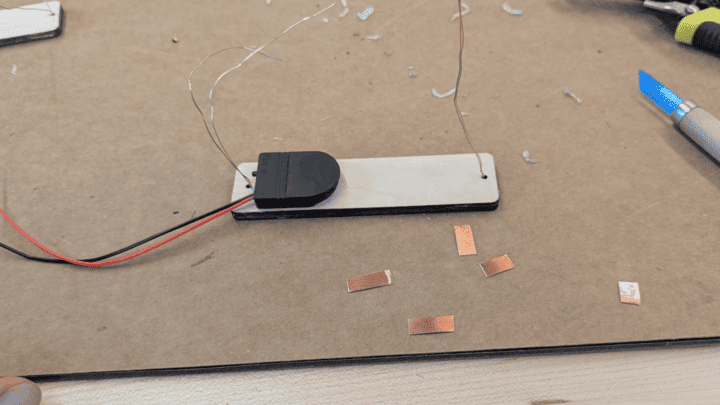
Now assemble your pieces! There are lots of different ways to do this, but I just used the trusty old hot glue gun. If you want to get fancier, go for it! It might be helpful to have a small utility knife or chisel on hand. Cut out the little notch for the LED to fit and snap your acrylic nametag into the frame.
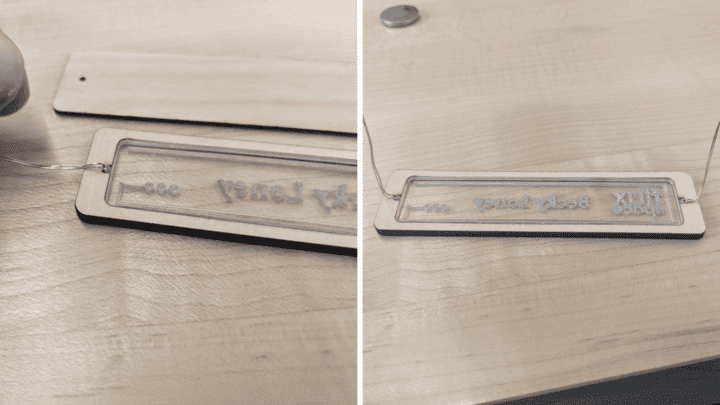
Then, glue in the LEDs, making sure that the correct side is facing in toward the side of the acrylic piece. Try not to get any glue on the back of the acrylic as you will be able to see it! However, if you do, just wait for it to cool and cut/scrape it off with something sharp like a utility knife
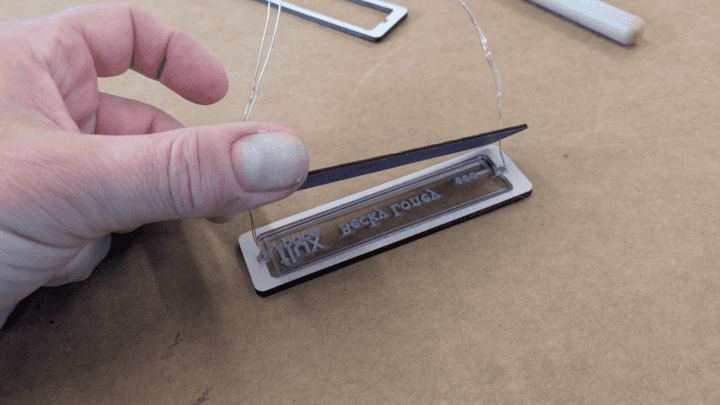
Next, you’ll probably want to paint the front side of the back piece a darker color, to contrast the etched parts of the acrylic, so it will show up better. Then you can thread the leads of the LEDs through the holes in the back piece and glue the back piece on in a couple places.
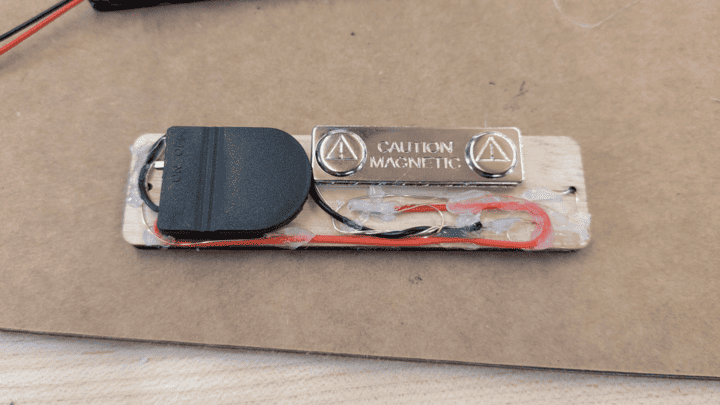
Glue on the battery holder, making sure that the right side is facing out, so you will still be able to open the door to replace the battery when you need to. Also, pay attention to where the switch is, so it’s located somewhere easy to reach.
Attach the magnetic nametag clip with the included double-sticky tape.
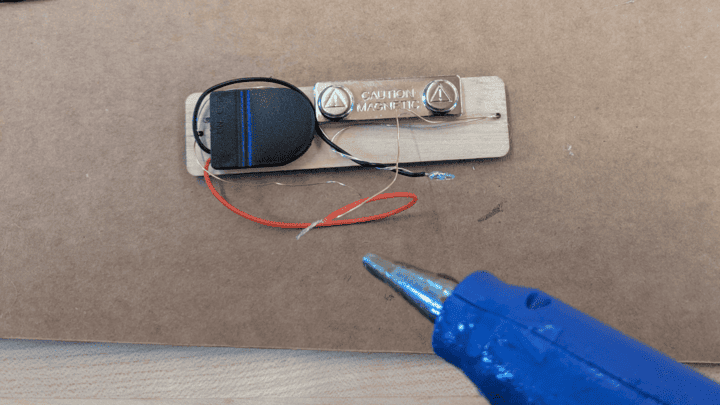
Then, all that’s left is to arrange your wires and make your connections. Soldering would be a very solid way to do this, however, hot glue works too. If you’re really fancy, try some conductive copper tape! Glue down any remaining wires as neatly as you like.
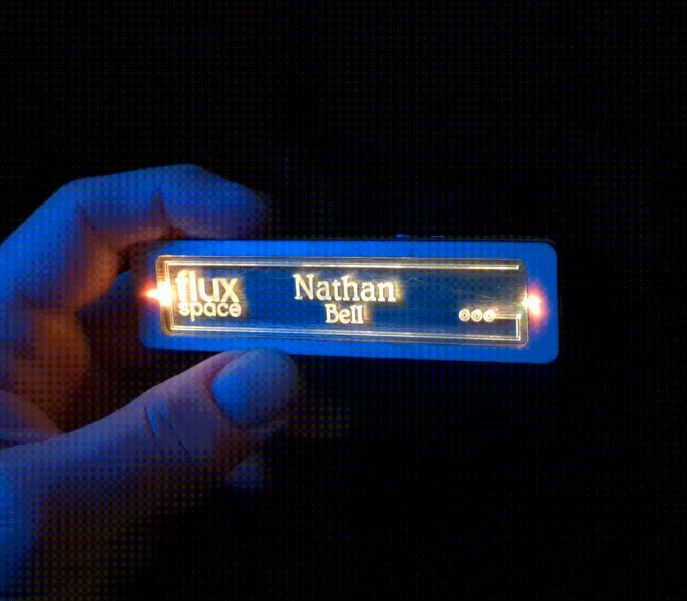
Turn on the switch and be ready to impress! Make sure you humble-brag that you just whipped it up that morning before the event you’re hosting, as a fun little tinkering project.
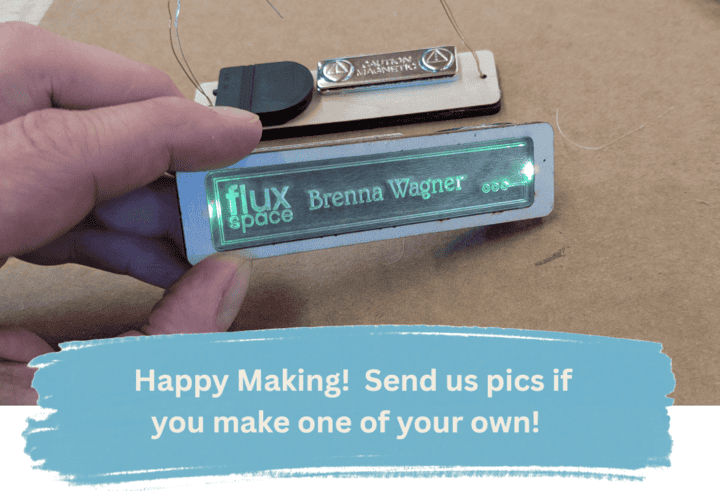
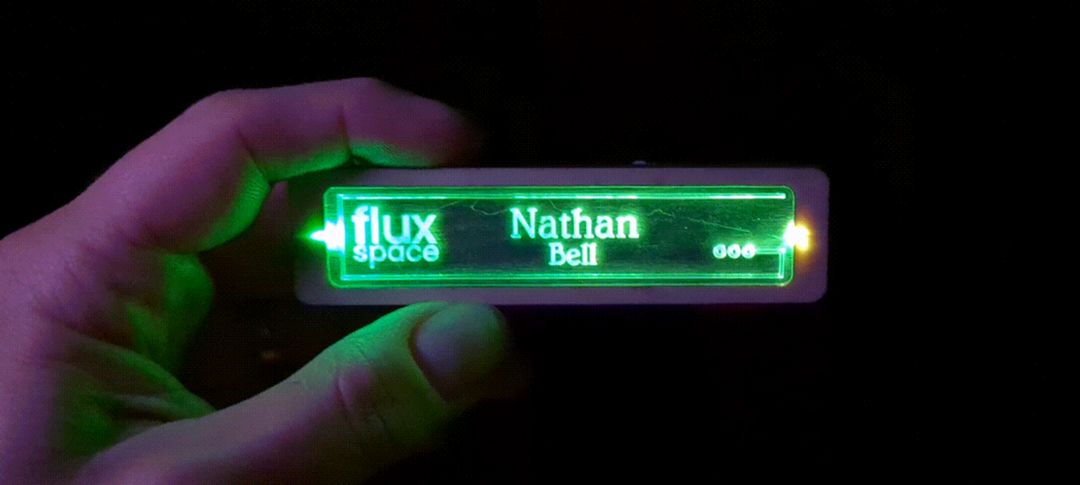
Project Examples
Have a solution to this challenge you want to share? Take a photo or video of your prototype, post it on social media, and don’t forget to tag us @fluxspace_io