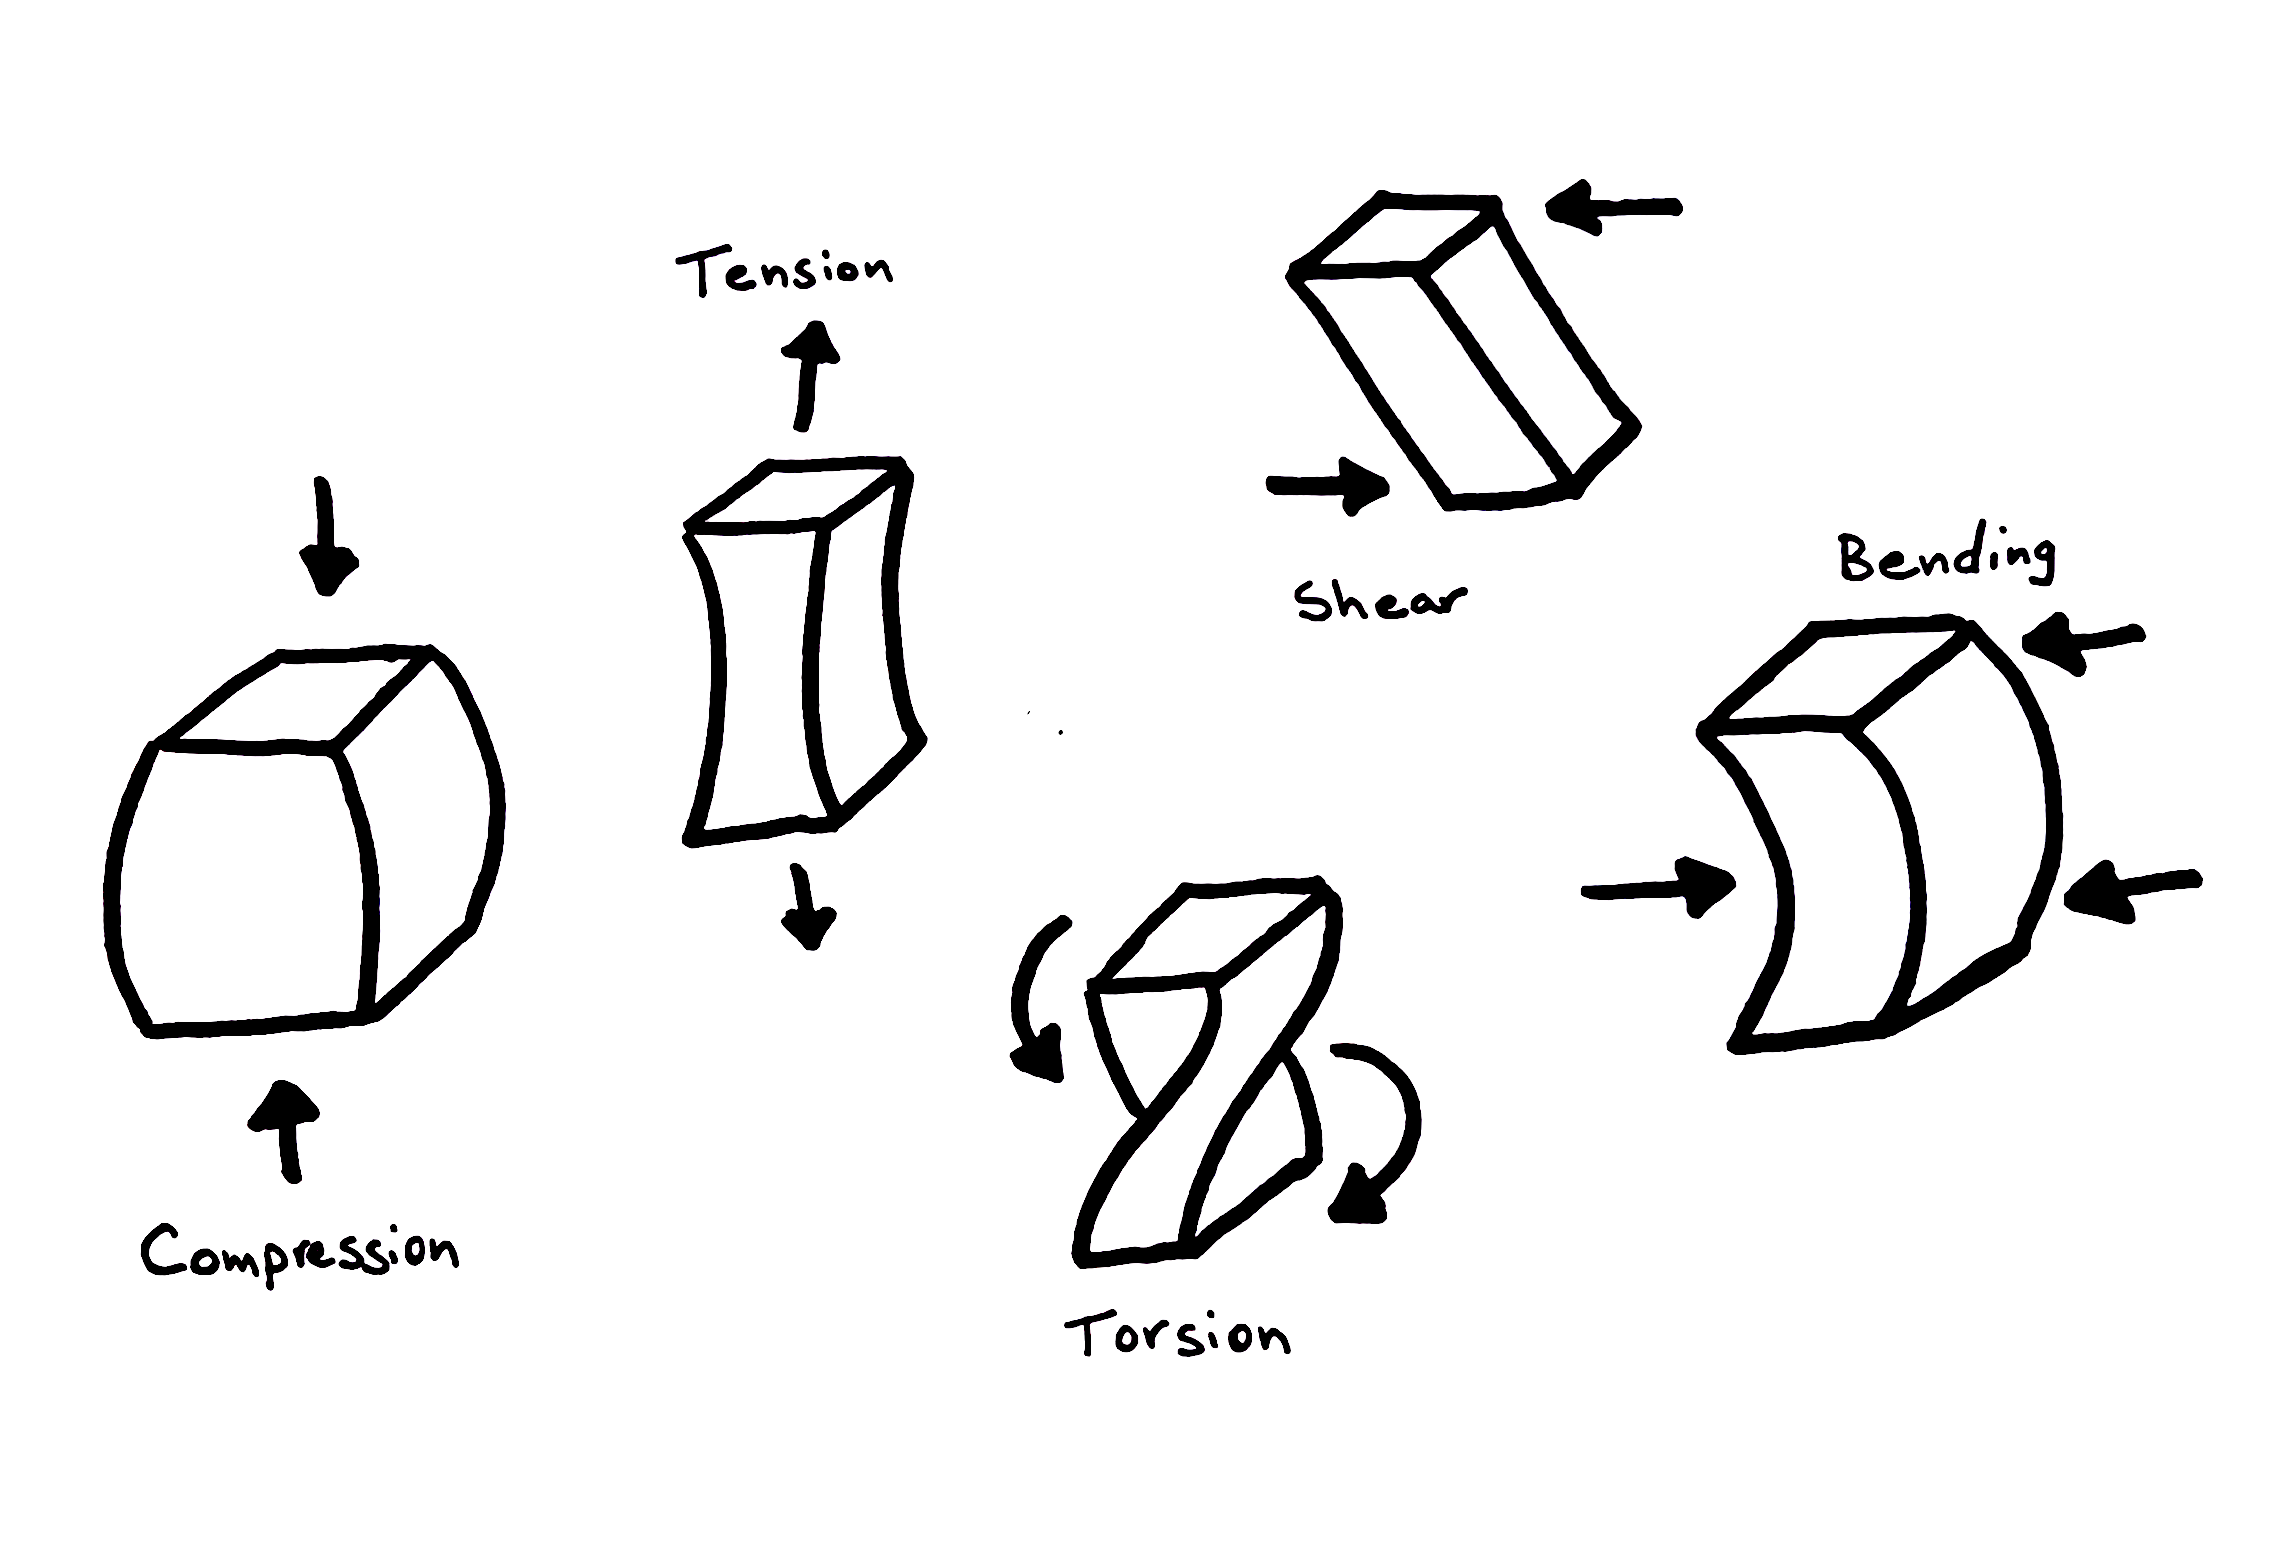
Consider This
For this challenge, you will build your own rubber band car. Rubber bands are stretchy, so you can "wind up" your car, and use the energy contained in the stretched rubber band to make your car go forwards. There are lots of ways to take advantage of rubber bands to move an object further! See instructions and video tutorial below to see one idea of how to build the car. What could you make your car out of? What can you modify, change, or add to make your car travel the farthest.
Video Transcript:
Hi folks, and welcome back to STEAMworks: Season One – All About Cars!
I’m Simona, and I’m here at Flux Base in our makerspace. In this episode, we’re building a rubber band car using simple materials and tools.
Let’s check out what we’ll need:
- A hot glue gun (very important!)
- Rubber bands (including one really large one)
- A wooden dowel
- Four binder clips
- Two tiny metal hooks
- A laser-cut cardboard frame (you could also cut one by hand)
Step 1: Assembling the Frame
The frame has a few parts:
- A large back wheel (laser-cut as part of the frame to save materials)
- Two smaller front wheels
- The main body of the car, which is wider at the front to fit the big wheel
- Two small support pieces for holding the axle of the large wheel
We’ll start by hot gluing those small supports into place. While that dries, we can move on to building the wheels.
Step 2: Building the Wheels
For the big back wheel, we’ll use the wooden dowel as the axle. I’ll use a pencil to make a hole in the center, then push the dowel through and glue it in place. We want about an inch of space on each side. Make sure everything is straight so the car rolls well!
Next, I’ll screw in the two tiny hooks on either end of the dowel. These will hold the rubber band that powers the car.
Now onto the front wheels: I’ll follow the same steps—make holes, insert dowels, glue them in, and ensure everything is straight. Then I’ll attach them to the frame using binder clips—just clip the wheel and clip the car body. It rolls pretty smoothly!
Step 3: Adding Power
Here comes the tricky part—stretching that giant rubber band around the large back wheel. It’s not easy with just two hands, but we got it!
The big wheel now sits in the support pieces and spins freely. We’ll loop smaller rubber bands through the tiny hooks on the axle and use binder clips to attach them to the front of the car. This tension will store energy to power the car when released.
Final Test
Now let’s wind it up and test it out! Twist the back wheel to store up torque with the rubber band and let it go!
That’s our rubber band car complete!
If you built your own version, leave a comment—I’d love to see it! And if you have suggestions to improve the design, send those too.
See you next week for our next build: balloon-powered cars!
Key Terms
stretch: (verb) cause (something) to become longer or wider by pulling it
elasticity: (noun) ability of a material to return to its original shape after it has been stretched
energy: (noun) capacity to do work
engineering: (noun) process of creating and building structures, products, and systems by using math and science
Project Examples
Have a solution to this challenge you want to share? Take a photo or video of your prototype, post it on social media, and don’t forget to tag us @fluxspace_io


